This article is currently an experimental machine translation and may contain errors. If anything is unclear, please refer to the original Chinese version. I am continuously working to improve the translation.
Having long admired the Linux From Scratch project, I finally got around to trying it out recently.
Linux From Scratch (LFS) is a project that provides you with step-by-step instructions for building your own custom Linux system, entirely from source code.
The official site lists several reasons for using LFS. For me, the main motivation was gaining a deeper understanding of Linux’s inner workings by building a distribution from scratch.
Overview
I installed version 13.0 of Linux From Scratch. The book spans over 300 pages when rendered as a PDF—intimidating at first glance, but much of that is just compilation commands. In practice, the whole process took me about two weeks, though I only worked on it in scattered free moments. Real hands-on time was probably under 10 hours.
My setup was an Ubuntu 24.04 VM running on Proxmox VE, with an additional 30GB virtual disk dedicated to LFS. Following the instructions verbatim worked perfectly.
At first, I thought building a Linux system would just involve compiling a few core packages, assembling a rootfs, and adding a kernel with GRUB. That’s kind of right—but not quite. The LFS build process goes roughly like this:
- [Chapter 2] Partition and mount the LFS disk
- [Chapters 3/4] Download all required source packages and prepare the host environment
- [Chapter 5] Build a temporary cross-compiling GCC on the host (to ensure newly built software doesn’t accidentally depend on host libraries)
- [Chapters 6/7] Use this temporary GCC to compile a minimal, self-contained GCC inside the LFS environment, then build essential tools (e.g., bash, make, sed, tar, etc.)
- [Chapter 8]
chrootinto the minimal LFS system and rebuild all packages using the second GCC, running tests and installing them properly - [Chapter 9] Configure timezone, locale, shell, and other basic settings
- [Chapter 10] Compile and install the kernel and GRUB, set up
fstab - [Chapter 11] Reboot into the new LFS system—installation complete
Most of my time was spent waiting for compiles. Doing manual builds for over 100 packages really adds up. This was definitely the chapter where I missed package managers the most.
After booting, I hit a black screen issue at first. But thanks to the LFS troubleshooting guide, adding a few kernel parameters fixed it quickly. Since LFS ran in a QEMU VM, I didn’t run into any weird hardware compatibility problems—everything went surprisingly smoothly.
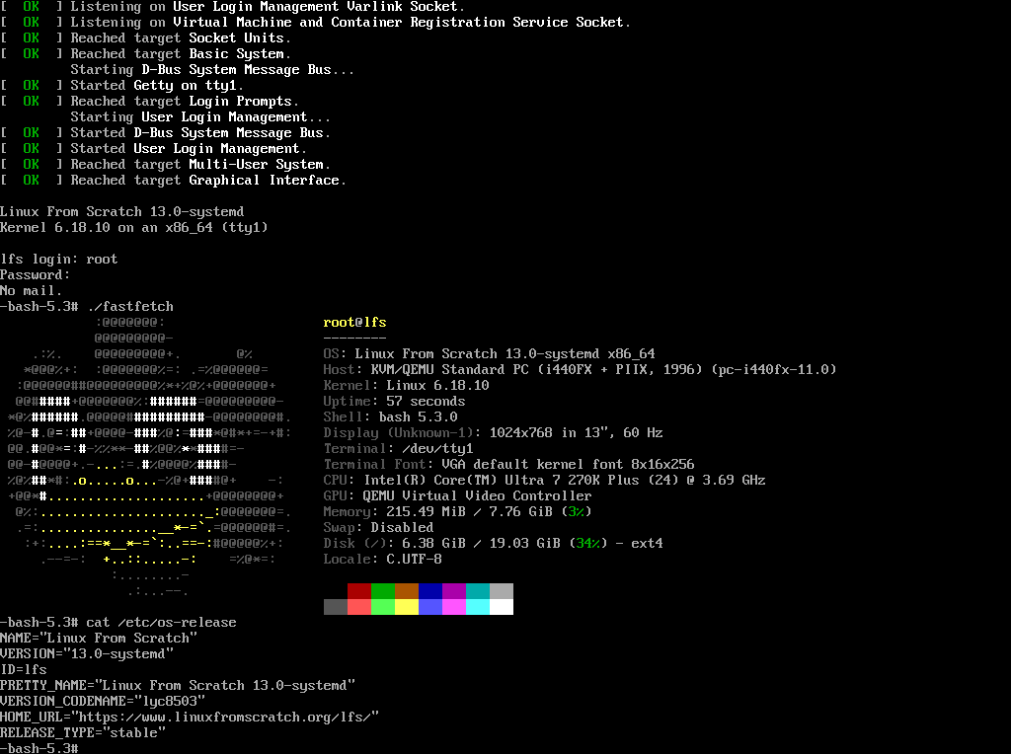 Successful boot
LFS also has a series of “DLCs”—BLFS, ALFS, MLFS, and others. If you actually want to use LFS as a daily driver, you’ll likely need to consult these. But I’ll pass on compiling everything by hand from now on—I’d rather just use Gentoo.
A Few Odd Facts
Just some things I didn’t know before—or found particularly amusing:
- Besides POSIX and FHS, there’s also something called the Linux Standard Base, a standard designed for binary compatibility of commercial software
- The complicated love-hate relationship with cross-compilation, and how to bootstrap GCC
- Clever tricks for manually playing the role of a package manager
- A historical deep dive into Linux device management
- The Iana Etc package installs just two text files:
/etc/protocolsand/etc/services. Tools like tcpdump and nmap use the latter to map port numbers to service names (though in practice, people pick random ports all the time, so the mapping is often inaccurate) - Perl and bc are actually part of the LSB requirements. And yes—you even need Tcl, that obscure scripting language, just to run the
expecttest suite
Another short post~ I’ve suddenly written a lot of blog entries this month
This article is licensed under the CC BY-NC-SA 4.0 license.
Author: lyc8503, Article link: https://blog.lyc8503.net/en/post/linux-from-scratch/
If this article was helpful or interesting to you, consider buy me a coffee¬_¬
Feel free to comment in English below o/